HEAT TRANSFER

FREE TUTORIALS & INFO ON PRINTING YOUR OWN CLOTING – HOW TO MAKE DESIGNS IN HTV, STRIPFLOCK AND GLITTER HTV

HEAT TRANSFER

What is HTV vinyl ?

WHAT IS HTV VINYL?

Or is the real question – what do you use it for, how do you get started and what should you pay attention to?

There is nothing as fun as creating a design that you can then apply to an item of your choice. The creative possibilities are endless. It seems simple but can sometimes be frustrating. I will help you on your way with some tips and videos.

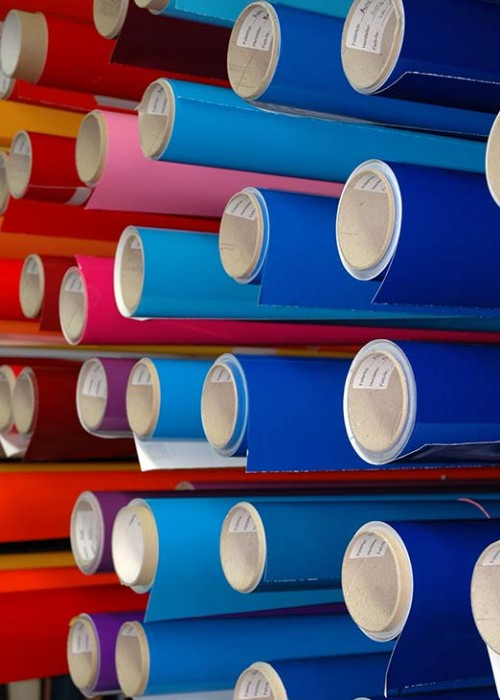
What is HTV vinyl? Well, as the name suggests, a heat transfer vinyl. It is a special type of vinyl that can be applied to specific fabrics to create text, designs and promotional items. The material consists of a front with glue layer and a back (called backing or backing). It is supplied in a roll or sheet form with an adhesive back. For example, it can easily be cut with a cutter, peeled (or weeded) with a weeding tool and attached to material by applying heat.  You always have to cut HTV in mirror image

WHAT TYPES OF HTV ARE AVAILABLE?

There are many types of colors, styles and finishes. Transfers are possible in matte, glossy and even glitter material (my personal favorite of course); the so-called glitter HTV, with which you can apply glitter to your clothing in a fun and easy way. You can also get transfers in flocked HTV. These are durable and feel velvety. There are also designs available in holographic, reflective, glow-in-the-dark and 3D techno HTV, which makes the design blow up a bit. Very special and nice effect!

There are several major manufacturers such as Siser and Stahls that have brand versions of their own HTV. The brand selection is determined by the fabric on which the HTV is applied, the method of heat transfer and personal preference. Each brand has different versions of vinyl that are made for specific fabrics and substrates. So the message is testing! I strongly recommend that you first test every new item that you use.

WHAT IS HTV VINYL USED FOR?

You have HTV in a large number of colors and special options mentioned. It is best used for simple designs with minimal colors, since each individual color or pattern used in the design must be cut, peeled (weeded) and heat pressed. Certain types of HTV can be pressed on top of each other to form multi-colored designs. The more layers involved, the harder it is to match each of them to achieve the end result. So that can be quite a challenge. HTV cannot be used for color photos or the like. There are other applications for that.

HTV can be used to create special effects with its glitter, flocked, holographic, glow-in-the-dark and 3D effects. The ability to use multiple layers on top of each other depends on the type of HTV being used.

WHAT CAN I APPLY HTV TO?

Because of the way in which the HTV is applied, you use it on fabrics and materials that can withstand the heat and pressure that is necessary for the transfer to adhere properly. For fabrics and clothing, these are typically temperatures in the range of 120 to 150 degrees Celsius. The product (also known as a substrate) must be able to withstand the pressure and heat of an iron or heat press.

You can easily print HTV on, among other things, polos, t-shirts, caps, jeans, bags, jackets, bags, rompers, ties, sheets, scarves, aprons and canvas.

Each HTV manufacturer will list which products can be used for each type of vinyl. Fabrics such as cotton, cotton / polyester blends, polyester and canvas work well with HTV. There are types of HTV that can also be used with nylon and leather. However, products such as paper and plastics do not work well because they cannot absorb the heat required to adhere the vinyl to the substrate. It is very important to ensure that the correct HTV type is used with the correct material.

WHAT IS THE DIFFERENCE BETWEEN HTV AND VINYL?

The big difference between HTV and vinyl is that it is not applied with heat. So it’s really just one big sticker!

Just as with HTV, there are a huge number of options. Always view the purposes for which you will use it, before you make a purchase.
WHAT SHOULD YOU PAY ATTENTION TO WHEN YOU BUY HTV?

As already mentioned, there is a very wide choice of colors, materials and brands. It must therefore be said that there can also be major differences in quality. Since you must be able to apply HTV to stretchable materials, the HTV itself must also be stretchable. It must of course be suitable for printing on cotton and polyester or a combination of these. It must then be easy to peel and not come off after application. It must be washable and last a long time.

Before you buy HTV, always think carefully about what exactly you are going to use it for and check whether the HTV is suitable for what you want to do with it. If you still have doubts about something or you have a question, you can always send me a message.

Now that you know what HTV is, what you can do with it and what you should pay attention to, you can get started:

make a design with the software of your cutting machines

  • cut the HTV (mirrored)
  • peel OR weeden your design
  • apply heat with a heat press or iron
HEAT TRANSFER

How to use flocked heat transfer vinyl?


IRONING LETTERS IN FLOCKFOLIE IRONING
Ironing letters are letters made from a special material that can be applied to textiles by heating. Flock foil, or flock velor as it is sometimes called, is a soft, velvety textile printing foil with an adhesive back. It has a dense fiber content which makes it look a bit like it is embroidered. It ensures a professional appearance at a much lower price. That is an immediate advantage of ironing letters, or ironing applications in flock in general. But you can iron both flex foil and flock foil.

WHAT IS THE DIFFERENCE BETWEEN FLEX FILM AND FLOCK FILM?
The difference between flex and flock film has to do with the following. Flex foil is thinner and smoother than flock foil. They both have an adhesive carrier. That is a hard adhesive plastic layer. Both flex foil and flock foil can be used with a cutter. But you can also cut figures by hand. You draw it on the back (so on the carrier) and then cut them out with pointed scissors without removing the carrier. However, flex foil is better suited for smaller designs than flock foil. The recommended temperature for applying the flock film also differs from that of the flex film. For flock film this is 160 ° C and for applying flex film 150 ° C.

Some brands:
There are different brands of Flock foil available on the market. You have CAD-CUT®FLOCK flock foil from Stahls. There is also the StripFlock® ”from Siser and the TubiTherm Flock from the Poli-Tape Group, which are all great. If you are looking for quality flax from Stahls, take a look in the shop.

WHAT CAN YOU IRON FLOCK FOIL?
String letters in flock foil are fantastic to use on things such as children’s clothing. Children will love the feeling!

It also looks good when used on sweaters, sports hoodies and tops. It ensures that numbers and names really stand out. Also in combination with other nice ironing applications, this can look fantastic.

Flock velours is suitable for cotton, polyester and acrylic from a mixture of these.

HOW CAN YOU CUT FLOCK FOIL?
Each manufacturer must specify the requirements for cutting and pressing their specific vinyl. It also depends on the type of cutter you are going to use for cutting string letters.

All of the major cutting machines can easily cut flock film. I like to use the Cricut Explore Air 2 for cutting (and I love it), but you can also use the following: the Silhouette CAMEO 3 or the Brother Scan N Cut. We must not forget to mirror our design for cutting.

For a Cricut Explore Air 2 cutting machine, set your machine to “Iron On +” and then test to see if this works. You must ensure that the knife goes through the flock and not through the transparent back.

For a Silhouette Cameo cutting machine, use a thickness setting of 33 and a knife setting of 4 speed 5 and force 6.

As with any new vinyl or new machine, you must first do a test before you make a final cut. Take a moment to cut a design and see if it works. Change what needs to change and then go for it.

When you order an ironing application from me, you will receive an extra piece of test material. This way you can already try it out before ironing on your beautiful garment or other textile.

Glitter Strijkapplicatie Love met Hartjes

STRIJKAPPLICATIES

Heb je geen snijmachine en ook geen zin om er eentje aan te schaffen voor een enkele strijkapplicatie, dan ga ik u helpen.

CAN YOU IRON FLOCK FOIL IN COMBINATION WITH OTHER FILIES?
You can iron flock in combination with flex or glitter foil, among other things. For example, flock foil can serve as a base layer or be covered with other materials, giving a very unique, high-end appearance to logos and designs. It can be printed on top of regular flex foil, creating a border around text, an image or another design. It makes the design really stand out! Note: glitter foil cannot serve as a base layer. In addition, flock velor is very opaque and has deep, rich colors that are ideal for animal prints and for layers on other materials.

You could also apply ironing letters to an image cut out in flock foil.

WHAT SHOULD YOU PAY ATTENTION WHEN COMBINING DIFFERENT MATERIALS?

temperature
time
pressure
use of a protective cloth or paper
When you put different layers of flex foil on top of each other, both with an iron and with a heat press, you may experience problems when the temperature setting, pressure or time is incorrect. When you press on multiple layers, it is good to remember that the first layer receives the extra heat from each additional pressure. Suppose you printed a design with 4 colors for the recommended 15 seconds for each layer. The first layer would end with a total pressing time of ONE MINUTE. That is not going to look good.

Moreover, if the film is printed for too long, it may happen that it will shrink. Heating the first layers for short (1 to 5) is therefore the message. This is especially important for proper alignment of your designs.

Use a Teflon sheet, press cloth or baking paper (or clean piece of 100% cotton fabric) to protect the plate of your iron or the top plate of your heat press. It also protects the garment and the foil. Previously applied film without carrier (such as the first layer of a multi-color design) can leave adhesive residue on the printing plate. The consequence of this is that at a subsequent pressure without protection, slurry can adhere to the garment. A protective cloth or paper keeps everything clean. It also ensures that heat-sensitive items do not scorch.

STEP-BY-STEP IRON LETTERS IN FLOCK FOIL IRONING WITH A IRON IRON
It is always best to pre-wash your textile so that it no longer shrinks afterwards
Provide a hard surface with an ironing cloth or a towel or the like on it. Ironing boards with slight damping are recommended.
Depending on the brand you use, the instructions for applying string letters may be different. Check your supplier’s manual and check if they are the same or close to the instructions listed below.
You put the iron at around 160-170 ° C. That is between linen and cotton. You turn off the steam.
It is best to pre-coat to remove any wrinkles from the textile and to make the application adhere better.
You can determine the center of your garment by folding the design in 2 as well as the bib.
Lay your shape on the fabric with removable transparent film facing up
Use a press cloth (or a piece of cotton fabric such as a tea towel) or greaseproof paper to press to protect the material from the heat of the iron.
Iron evenly without steam!
15 to 20 seconds each
do not move the iron
Flock foil must cool before you can remove the carrier. Only after cooling can you carefully remove the transparent film
Pull from corner to corner
For a good adhesion of the ironing letters it is best to iron for a few seconds on the application with a baking paper in between. Turn your fabric over and iron well again
If the application has not yet adhered properly – you can repeat the previous steps and apply it again. Similarly, if the ironing application is released after it has been washed a number of times

HOW TO APPLY FLOCK FOIL WITH A HEAT PRESS?
Each brand has its own requirements and you must follow them carefully.

The flock films I have already worked with require the following averages:

Preheating textile: 2-3 seconds
Temperature: 155-165 ° C
Time: 15-20 seconds
Pressure: Medium (3-5 bar)
Cold peal: remove carrier cold

You want to keep a nicely printed piece of clothing for a long time. That is why it is important to wash and iron your clothes with care and attention. Follow the washing instructions below to have fun with your clothes for as long as possible.

WASINSTRUCTIES

  • Ga niet meteen na het aanbrengen van strijkletters of een strijkapplicatie wassen maar wacht minstens 24u.
  • Gebruik geen chloorbleekmiddel
  • Je kan een applicatie met “enkel” flockfolie wassen tot 60 °C. 
  • Draai je kleding met strijkletters binnenstebuiten voor het wassen en gebruik geen droogtrommel.
  • Strijk nooit rechtstreeks op de strijkletters in flockfolie. Beter is om het kledingstuk binnenstebuiten te strijken.

IRONING APPLICATIONS OF FLEXFOLIE AND GLITTERFLEX
Ironing applications with flex foil, flock foil and / or glitterflex are also a nice alternative.

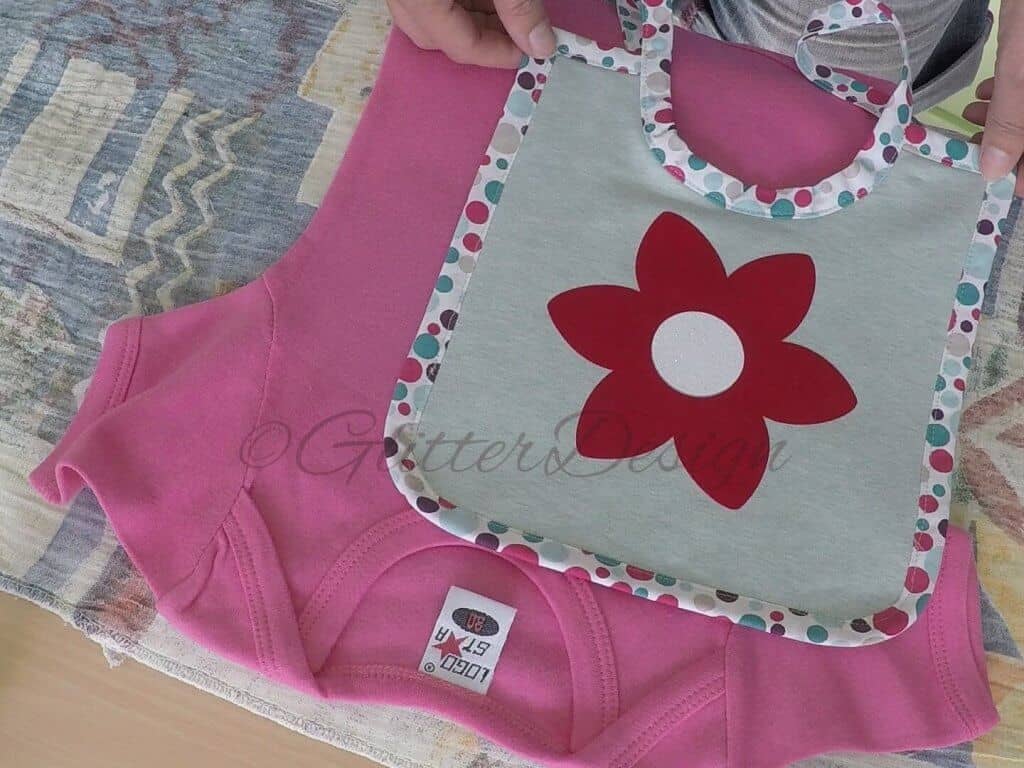
Here I have the ironing application for a self-made bib.

I cut the petals of the flower in red flock foil and the heart of the flower in white glitterflex. You can download the file of this flower that I designed for free for personal use. In the video above I show you step by step how I apply this ironing application consisting of flock foil and glitterflex.


IRON APPLICATIONS WITH STRASS STONES
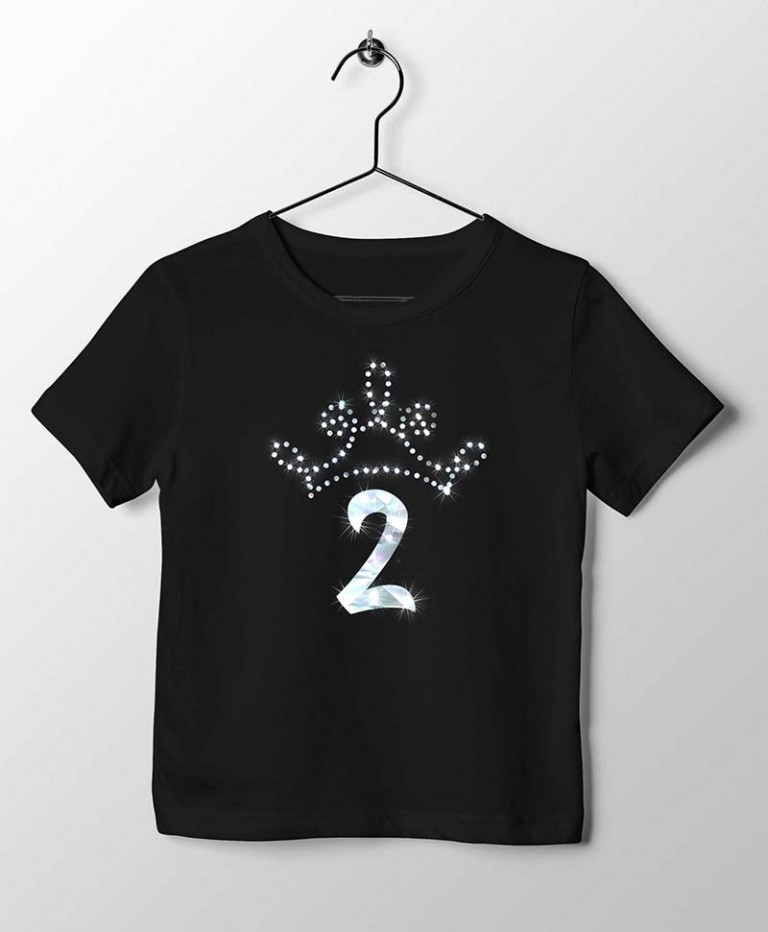
In addition to ironing applications in flock foil, you can also opt for a “glittering” variant. By this I mean the rhinestone applications. These are applications covered with strass stones that can also be applied to clothing, bags or other textiles. Strass stones are also called hotfix stones because they also stick to the fabric through heating. The underside of these stones is covered with a layer of glue. When heated, the glue melts and adheres to achieve the desired result. So you can easily and quickly create glitter T-shirts at home by using these rhinestone applications.

In the video below I show you how to iron strass applications.


WHAT ARE GLITTER IRON LETTERS?
Glitter Ironing letters are letters made from a glitter material such as glitterflex or holographic flex and which can be ironed on textile. If you would like a one-piece name in decorative letters and not in individual letter transfers, you can contact me for this. You give the name of your choice and I cut and peel it for you. You only have to iron it.

Hopefully I have been able to provide clarity for you on how you can easily cut and iron flock foil yourself.

If you feel like getting started yourself, but still have questions, then leave a comment in the comments below.


HEAT TRANSFER, HOTFIX

How to use HTV on canvas, wood, leather, terry cloth or polyester

In the beginning that I got to know HTV, I thought this was only something for clothing, but I was clearly wrong. You can apply heat transfer vinyl to so much more than just fabric. Let’s look at that together. I started to figure out how to use HTV on canvas, wood, polyester, leather and even on a towel. If you read this blog post all the way through, then at the end I have 10 extra tips for you on how to apply HTV on top of each other.

If you are not yet completely familiar with what HTV is, what types there are and what you should pay attention to when you buy, then it’s best to first read the blog post on What is HTV? 

HTV ON WOOD

If you want to print a text on a wooden surface, HTV is certainly worth considering. You don’t have to mess with transfer tape, because heat transfer vinyl is already on a carrier. You can transfer the text to wood by simply ironing the HTV text onto the wood. It adheres wonderfully. I also like that HTV is less shiny than regular vinyl and it also looks more natural when there are grooves in the wood. That way, it looks like a hand-painted wooden wall decoration with text. Or why not make these nice little blocks like smileys 😉

Flexfolie op hout bedrukken

WHICH WOOD TO USE FOR PRINTING HTV?

You can create stunning creative pieces of art by pressing HTV on wood. The best wood on which you can apply heat transfer vinyl is (balsa) plywood, pine, scaffolding wood or ayous wood.

Balsa wood is versatile, environmentally friendly and very light. Ideal for plates and accessories and even small furniture!

It seems that if you try to carry out a project on very smooth wood, it is best to first treat the surface with water-based stain, paint or parquet lacquer to give the vinyl a hold.

For a more permanent solution, it is recommended to spray a protective epoxy or polycrylic topcoat to ensure that your vinly sticks well to the wood.

The steps to apply HTV to wood are the same as for any other materials. 

How to use HTV on canvas

TEXT ON CANVAS

Just as you can transfer text onto wood, you can also print your own text on canvas with HTV. I will explain below how this works. More information and useful tips I have bundled for you. you will find in a separate blog post more about HTV cutting, peeling and pressing. Certainly worth checking out. It’s going to make your life so much easier.

An important difference between printing on canvas and an item of clothing is filling up the back of the canvas so it get’s enough support. This must be filled, otherwise we cannot give enough pressure to press. There are special Teflon pillows, but you can also fold a towel or a t-shirt to fill that empty space.

STEP-BY-STEP HOW TO USE HTV ON CANVAS

  • Before applying your design to the canvas, mark the center with a pencil. Also determine the center of your design by folding it in 2 with the non-sticky sides facing each other.
  • Cut a piece of baking paper and heat your iron to the warmest setting.
  • Position your design on the canvas, put the baking paper over it and give it a firm pressure for 20 to 30 seconds.
  • Give the backing a few moments to cool down and then remove it.
  • Repeat this process for each color.
  • Applying HTV to a canvas is very fun to do and you can also make a very original gift for someone special. The prettiest htv to print on canvas, I think is the glitter foil. In the photo above, I used a nice quote from Libelle.

HTV ON LEATHER

Did you know that you could also press HTV on leather? Really! This technique is a nice way to personalize leather gifts, such as a wallet, leather writing folder, iphone or ipad cover or bag. If you would like to print such a nice gadget yourself, then certainly read on. I will tell you everything you need to know to use HTV on leather.

What you will need :
  • heat transfer vinyl
  • Iron
  • weeding tool
  • Silhouette Cameo, Cricut or other cutter
  • Protective coversheet or baking paper
  • Your own design or use one of mine for free (not for commercial use)

STEP-BY-STEP HOW TO USE HTV ON LEATHER

  • First create your design with the software (in my blog post and video “I explain in more detail) 
  • Then you mirror your design
  • Cut your design with the cutter
  • Then peel the design by using the weeding tool
  • Once your work has been peeled, position it with the adhesive side down. This way your drawing is again with the good side up
  • Use your iron on the cotton setting and switch off the steam (it is best to use an iron without steam as water can stain and damage the leather surface)
  • Take your ironing cloth or baking paper to lay on your design and press it for 10-15 seconds (be careful not to move and only move)
  • Now pull the translucent side of the foil and you’re done!

HTV ON TERRY CLOTH OR TOWEL

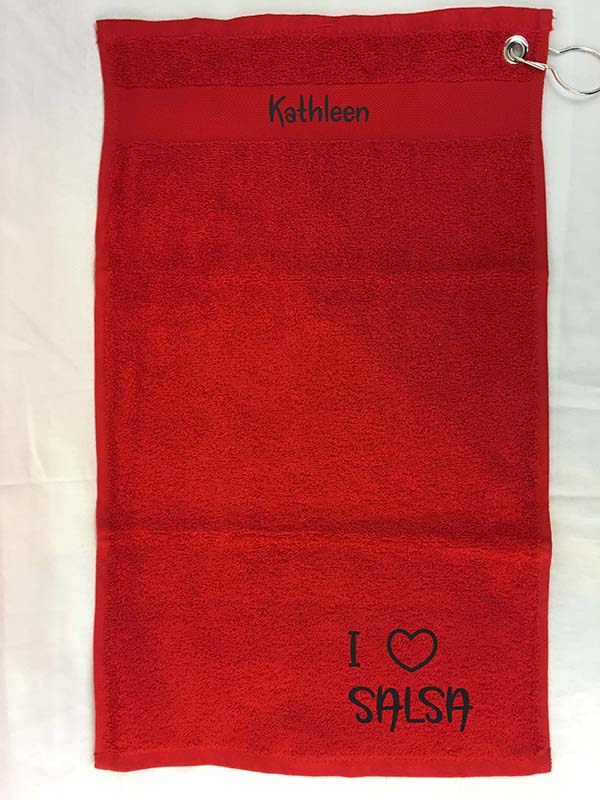
One of my salsa friends asked me to press a text and names in HTV on a towel with clip. This way everyone had their own personalized towel they could use while going dancing…

The most important thing here is that the towel must be made of 100% cotton and that we use HTV where we can apply a low temperature and which nevertheless adheres well.

The process of applying HTV to a towel or terry cloth is similar to that of other items. I made sure that I first pressed a little beforehand so that moisture and creases were removed. Then I applied my design and printed it at 160 ° C. for 15 to 20 seconds. This HTV is a warm peel. So the backing becomes removable while it’s still warm.

Flexfolie op Handdoek

HTV ON POLYESTER

When it comes to polyester printing, there are apparently a number of things that we have to take into account. This fabric seems less suitable for printing than, for example, cotton. It is easier to press a cotton shirt with HTV than, for example, to print a polyester shirt. But I certainly did not let myself be intimidated and so I tried to apply this film to polyester. These are my findings.

Tips regarding temperature:

You want to apply HTV, so you need heat to make the glue on the HTV adhere to the fabric. The problem with this, however, is that some more delicate fabrics are sensitive to high temperatures. Your fabric can get burned and even melt. So my advice here is to use a heat press if possible. You can control the temperature better with a heat press. Because to print polyester, your temperature must not be too hot. At least less than 150 ° C. If you have a label in a garment, follow the information on the label. Not all polyester is equally sensitive, but of course you don’t want to take any risks, so try testing. If you want to print multiple polyester shirts with HTV, consider using one as a test. Or see if it is possible to obtain a sample of the fabric and then start with the lowest possible temperature (135 ° C) and press a small piece of the fabric. If it does not burn, set the temperature 5° C higher and try again to see what temperature you can use before it scorches.

Tips regarding pressure:

The pressure you give during a press is also important. You need heat and pressure to make HTV adhere correctly.

If you work with a lower temperature, you must increase the pressing time.

But too much of either can damage your fabric. So also experiment with the pressure. Start with a light pressure. Too high pressure can result in a glossy print that will only get worse if you try to remove it.

Normally you press for 15 to 20 seconds and now you press 25 to 30 seconds. Be sure to also use a protective cloth during pressing.

Protection tips:

Another issue to take into account is the ironing cloth. This is used during the application of heat to your transfer and helps to ensure that your fabric does not scorch or melt. It helps to protect your garment.

However, this ironing cloth can now prevent the transfer to be carried out correctly. It is possible that the fabric does not allow sufficient heat to pass through to do its job. The result: the HTV doesn’t adhere to the polyester.

Fortunately, there is a variety of thicknesses that you can choose from. Best to also try a few of them.

Thin protection generally works best with polyester t-shirts. They will still protect the garment from damage, but they will not prevent the transfer from being successfully applied.

Some people place a layer of thin fabric over the garment that they are going to print on and then that acts as a protection. This can work, but finding the exact thickness you need can be incredibly difficult.

Another complication: polyester t-shirts with a lot of color

Problems caused by the sprouting of colors can occur on different types of material, but it is primarily a problem with polyester. It is most common on substances for which a large amount of colorant has been added during production. My tip is to wash the garment first.

The biggest problems are usually with sublimated substances. One way to see if this risk exists, is to look at both sides of the fabric. For example, a t-shirt is more at risk if the inside is completely colored and the outside is provided with a pattern.

Source: heatpresshangout

The good news:

Special types of HTV have been developed for this type of material. You must therefore pay close attention when purchasing heat transfer vinyl. I have listed a few tips for you that can be useful and that can save money. So that you do not’t make a bad decision while purchasing HTV.

Conclusion: Use the right type HTV 

The success of polyester printing with HTV mainly depends on the type you use. There are many different types of HTV, but not all of them are suitable for working with polyester.

Again, this largely comes down to the temperature at which the transfer must work. As we have already seen, polyester usually requires lower temperatures than other materials.

That is why the best vinyls for polyester are the ones that are designed to work well at lower temperatures. They ensure that the transfer stays in place without causing damage to the garment.

10 TIPS ON PRINTING HTV:

  1. When you have cut out an image with your cutting machine, use your scissors to cut as close to the edge of the drawing as possible. First: that saves you on material. Secondly: that gives you the possibility to place several pieces of your design under or next to each other at the same time. And third: this way you avoid the risk that the transparent liner will leave a mark on your other layers of htv
  2. Check whether you use the right material for printing: cotton, polyester, nylon or a mix of these
  3. When using your new material for the first time: do a test
  4. Check whether the temperature of your iron is correct (cotton or linen position or the hottest position that your material can tolerate) or the temperature of the heat press
  5. You can use HTV over one another. You only have to take your times into account. Each layer may only be pressed for a few seconds. That is because the htv can shrink a bit and then your design will no longer fit together! Moreover, your bottom layer would overheat if you gave each layer the full pressing time.
  6. Also note: You can squeeze more colors flex over each other but you cannot apply each htv material over another (so you cannot HTV or flocked foil on top of glitter htv)
  7. By pre-pressing your garment for a few seconds (3 to 5 “), you ensure that the moisture and any creases have disappeared
  8. Always use protection (an ironing cloth or baking paper) when pressing multiple layers. This way you protect your iron or the top plate of your heat press as well as your garment and the htv itself. When pressing HTV, tiny pieces may remain unnoticed on the heat plate, which will then end up on your garment at your next press turn. So my tip: keep everything clean by using protection.
  9. You can postpress your work for 3 to 5 seconds
  10. HTV must sit, rest and cure at least for 24 hours. So it is not advisable to wash it before that time.

CONCLUSION:

So you see, there are so many more options for printing with HTV than just printing a nice glitter shirt. Let your inspiration run free and try one of the options above. Don’t forget to share your creation in the comments below so that you can inspire others too! And as always, if you still have questions, you can always ask them below.

HEAT TRANSFER

How to make a T-shirt look better with HTV

Do you know that feeling: you have made a DIY T-shirt or sweatshirt, but something is missing. Or you still have a few shirts in your closet, but they all look a bit dull. Glitter HTV can offer a solution here.

By using HTV we can transform an everyday and monotonous shirt into beautiful unique piece that everyone is jealous of.

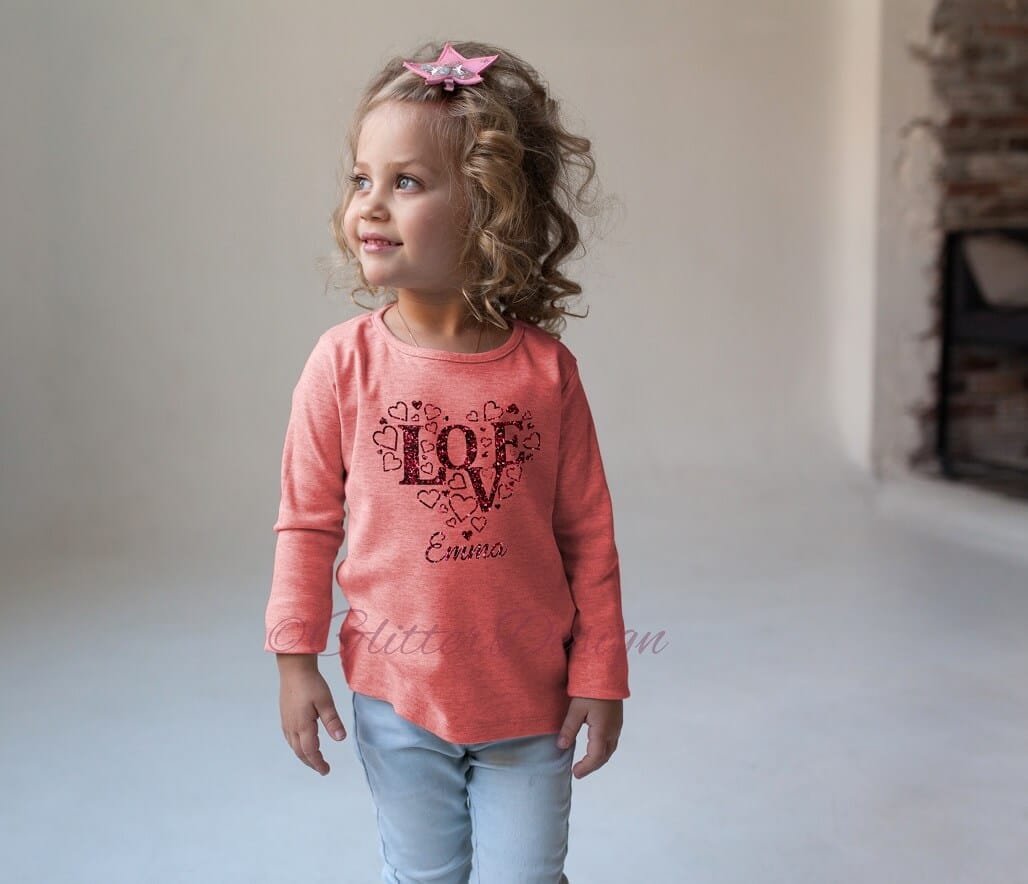
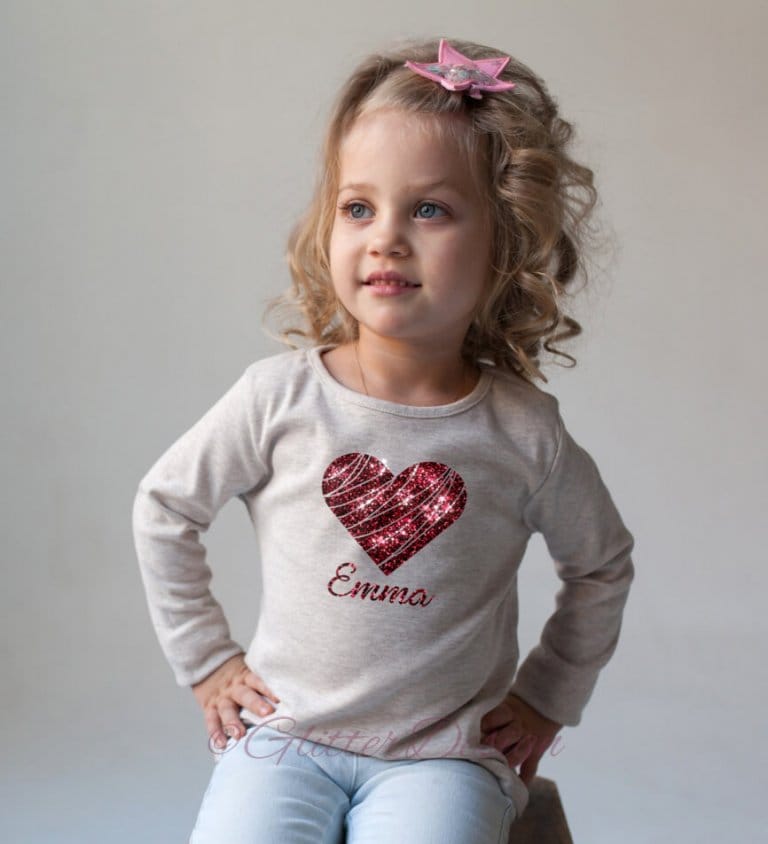
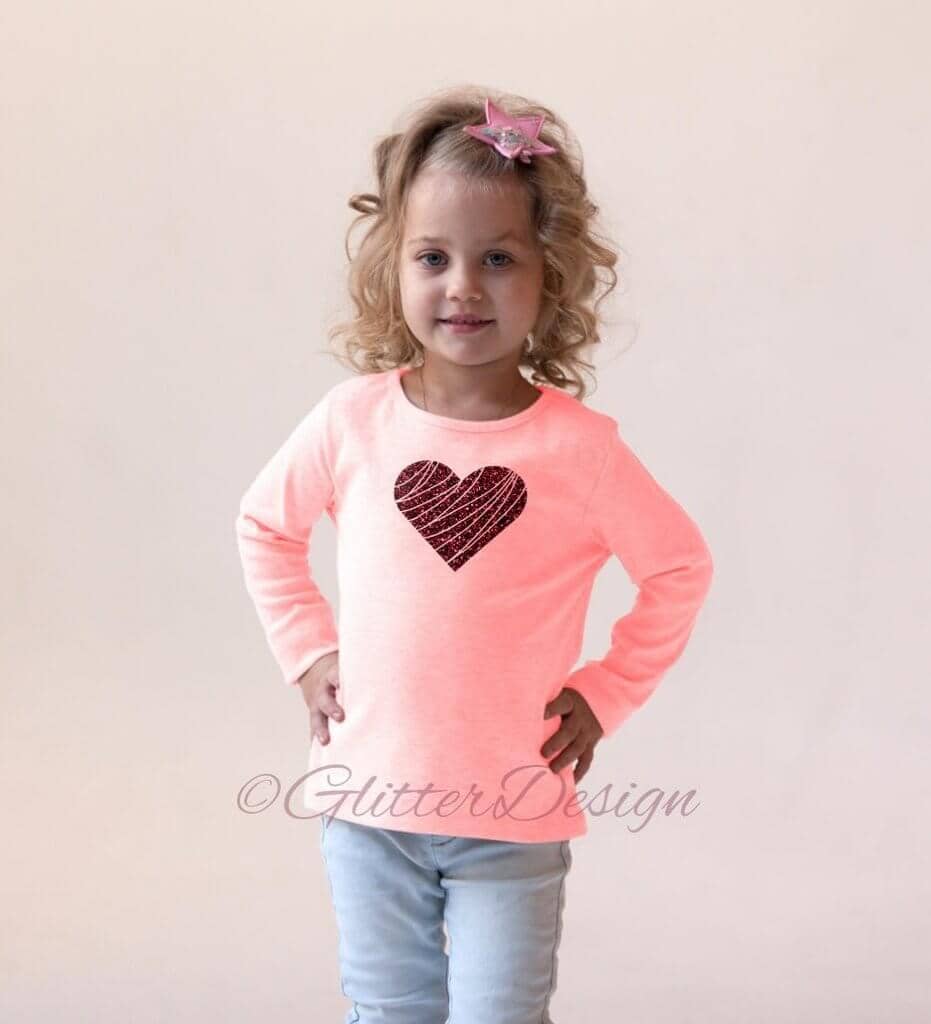
With the help of a glitter name and glitter heart, you transform every item from “average” to simply “beautiful”! Girls love it. They like to have glittering figures on their clothes so that they can show off. And if hearts are added, it will be completely extraordinary.

Collect the materials, tools and patterns and follow the instructions below. They will simply adore you!

Glitternaam en glitterhart Strijkapplicatie
Strijkapplicatie Glitter hart op roze sweatshirt

Tools you will need:

  • Cutting machine or scissors
  • weeding tool
  • Iron


Materials you will need:

  • glitter HTV
  • T-shirt or sweatshirt


Free download heart in svg


or pdf

Instructions:

  • peel off the excess material from the pattern (if this has not already been done)
  • place the designs in the desired location on the shirt and use your iron according to the instructions of the iron-on material

I believe that everyone can be creative with the necessary inspiration.

Do not miss this “unique” opportunity to capture children’s hearts. A glitter heart and glitter name on their favorite shirt.